
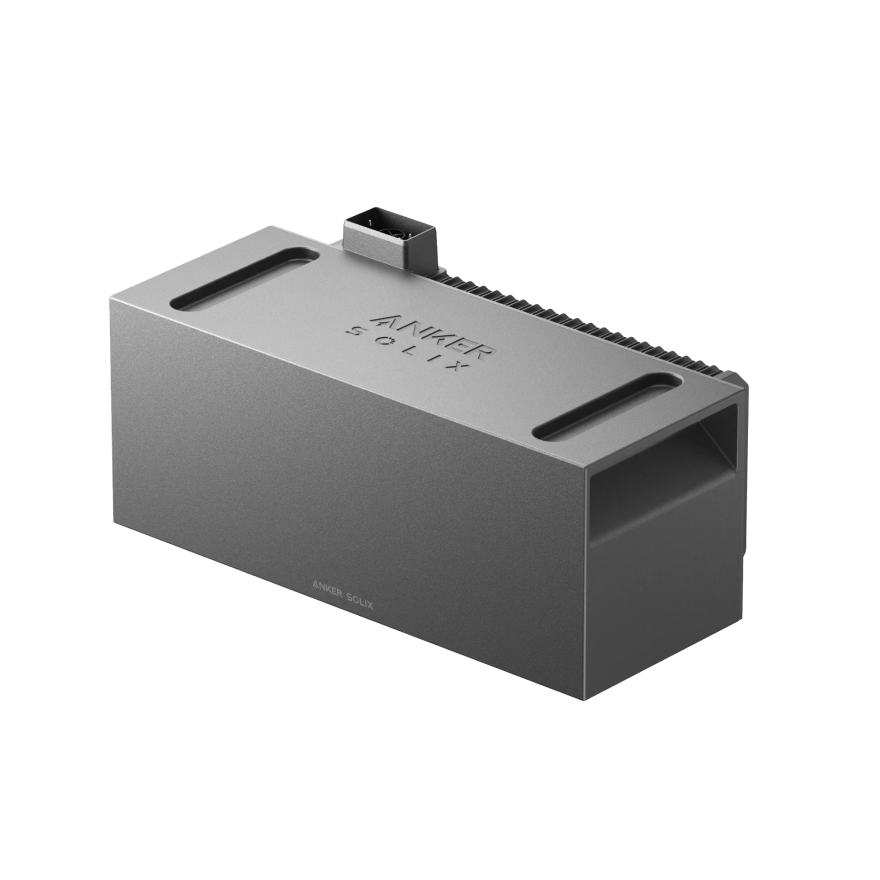
Anker BP1600 Expansion Battery
Free shipping in mainland Spain, Portugal and Balearic Islands
Delivery time: 3 weeks from order
What’s in the box?
- 1 x Anker Solix BP1600 Expansion Battery
- 2 x Fixed mounting brackets
- 2 x Combination Phillips screws (M5×10mm)
- 1 x User manual
Installation guide: Anker Solix BP1600 Expansion Battery
User manual: Anker Solix BP1600 Expansion Battery

Choose options

Anker BP1600 Expansion Battery
Sale price€699,00
Regular price€899,00
Delivery time: 3 weeks from order
What’s in the box?
- 1 x Anker Solix BP1600 Expansion Battery
- 2 x Fixed mounting brackets
- 2 x Combination Phillips screws (M5×10mm)
- 1 x User manual
Installation guide: Anker Solix BP1600 Expansion Battery
User manual: Anker Solix BP1600 Expansion Battery

Anker Solix BP1600 Expansion Battery
As easy as 1, 2, 3!
How to install your battery system
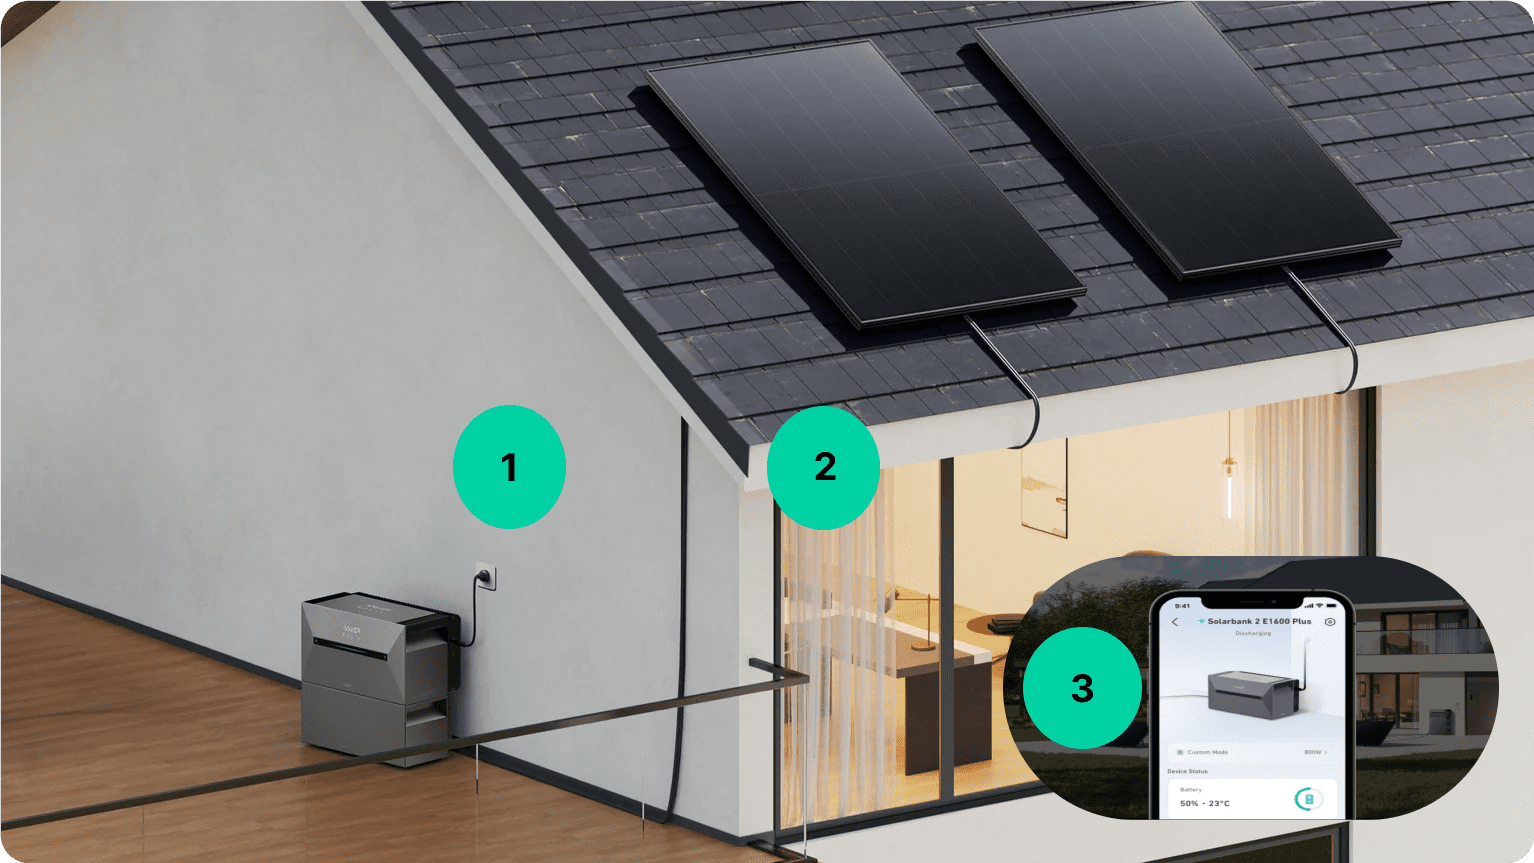
Step 1
Connect the solar panels to the battery using the MC4 cables
Step 2
Connect the battery to the grid
Step 3
Configure the battery in your mobile app

Plugin solar kit Installations of Robinsun customers


Faro 🇵🇹
Performance Flat
Viterbo 🇮🇹
Performance Metal Roof
Lisbon 🇵🇹
Performance Balcony
Las Palmas 🇪🇸
Performance Tile Roof
Lanzarote 🇪🇸
Plus 2000
Ibiza 🇪🇸
Performance Flat
Alportel 🇵🇹
Performance Flat
Alicante 🇪🇸
Plus 2000
Madrid 🇪🇸
Performance Balcony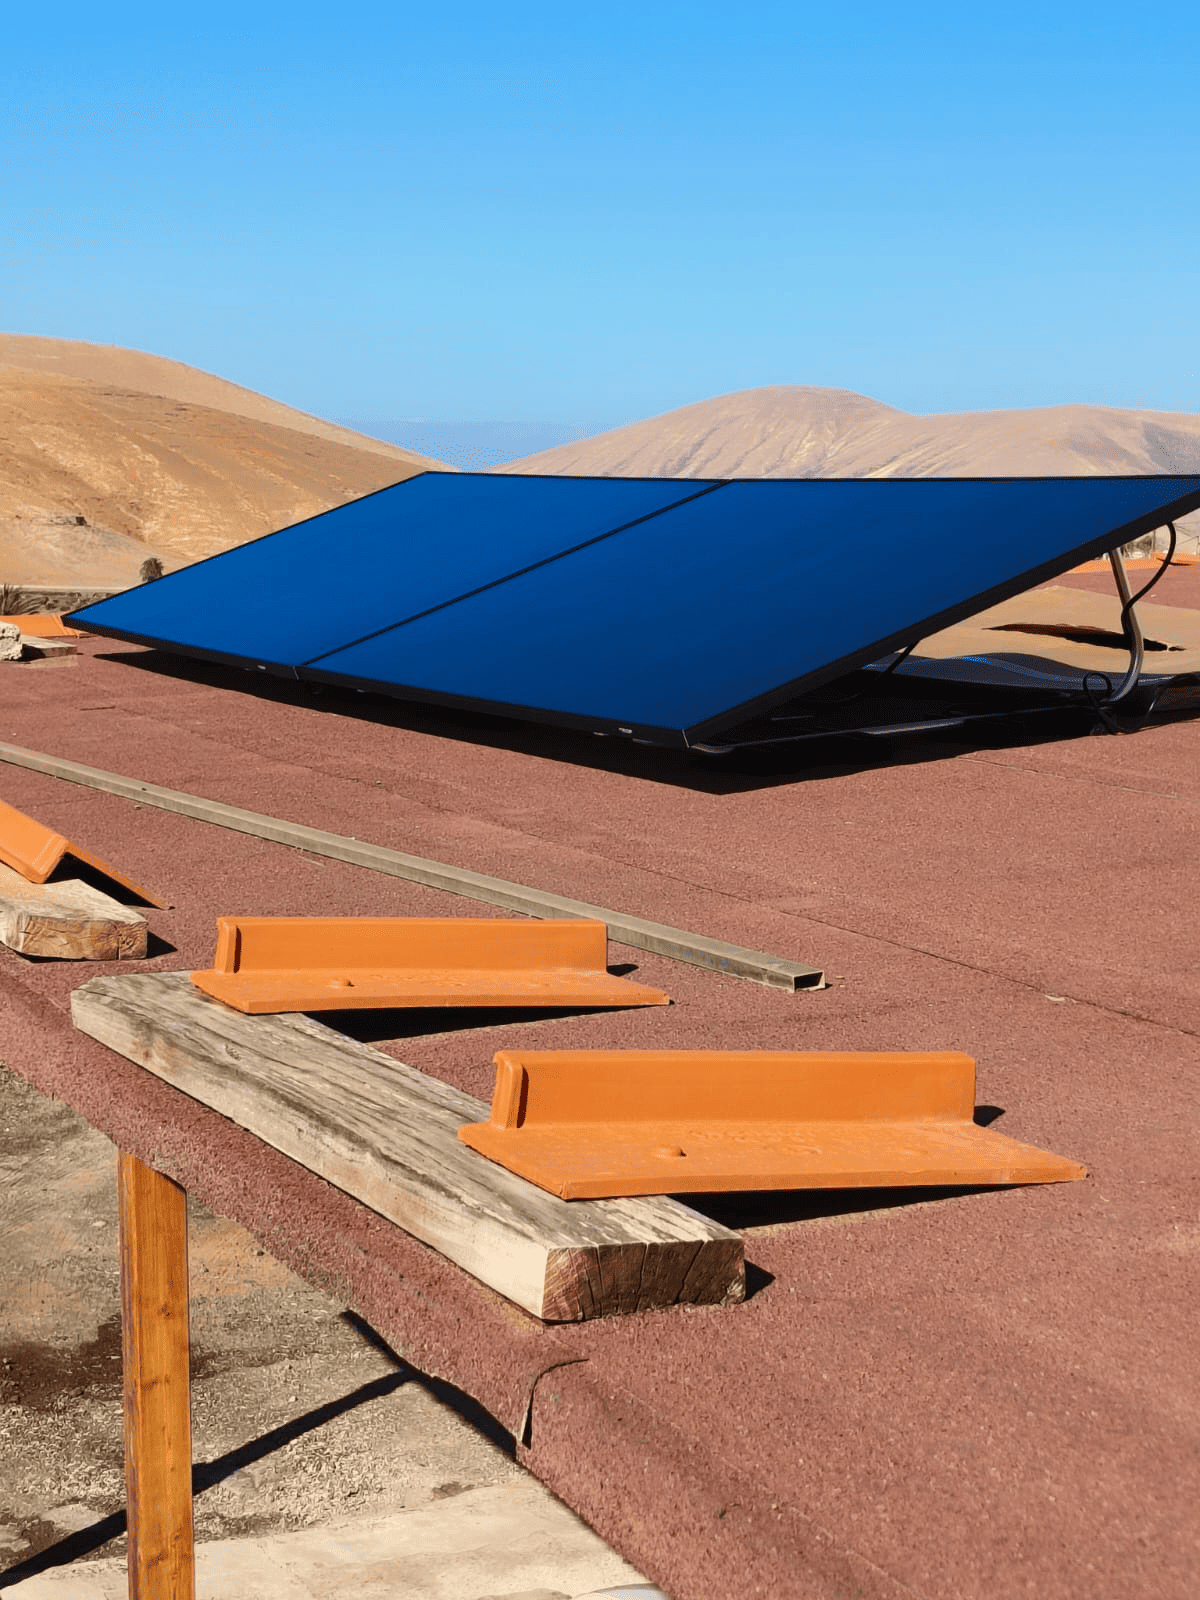
Fuerteventura 🇪🇸
Performance Flat